Installing things on the distribution box panel
Installing a panel on a distribution box requires careful planning, proper placement, correct wiring, and adherence to safety standards.
Step 1: Choose the Right Distribution Box
Select a distribution box suitable for your environment (residential, commercial, or industrial) and load requirements. Ensure the box has the appropriate IP or NEMA rating for protection against dust, water, and corrosion, especially if installed outdoors ( ). The box should have enough capacity for current wiring and future expansion.
Step 2: Select the Installation Location
Install the box in a dry, accessible area with good ventilation. Maintain a safe distance from water, flammable, or corrosive substances. For residential setups, a height of approximately 1.5 meters above the ground is recommended, while industrial installations may vary depending on surrounding equipment ( ).
Step 3: Prepare Tools and Materials
Gather necessary tools and materials, including:
- Circuit breakers
- Electrical wires of appropriate gauge
- Wire strippers, screwdrivers, and pliers
- Grounding rods and connectors
- Electrical tape and labeling materials ( )
Step 4: Turn Off Power
Before starting, switch off the main power supply and verify with a voltage tester to ensure safety ( ).
Step 5: Mount the Panel
Secure the distribution box to the wall or mounting surface using appropriate fasteners. Ensure it is level and stable. Leave sufficient space around the box for ventilation and maintenance ( ).
Step 6: Install Circuit Breakers and Bus Bars
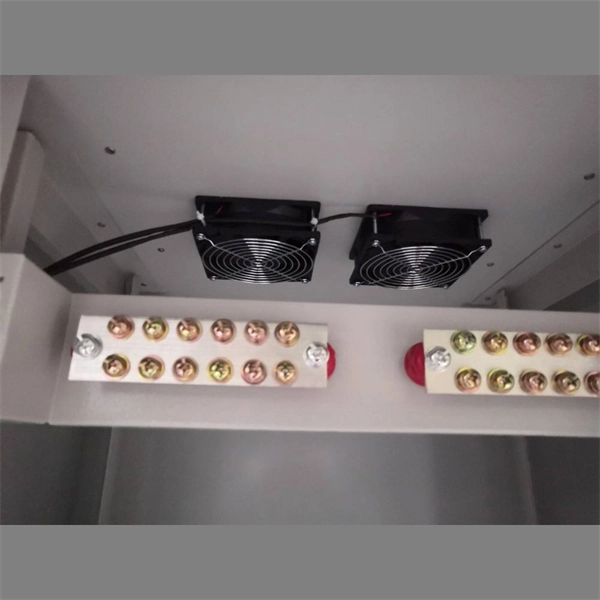
Install the circuit breakers according to your planned layout. Connect the bus bars, neutral bar, and ground bar inside the panel. Ensure each breaker corresponds to a specific circuit in your building ( ).
Step 7: Wire the Panel
- Route wires neatly into the panel through designated entry points.
- Connect live wires to the breakers, neutral wires to the neutral bar, and grounding wires to the ground bar.
- Maintain proper insulation and secure all connections to prevent loose contacts ( ).
Step 8: Test and Label
After wiring, perform a visual inspection and use a multimeter to check for correct connections and absence of shorts. Label each circuit clearly for easy identification and future maintenance ( ).
Step 9: Restore Power and Verify
Once all checks are complete, restore power and test each circuit to ensure proper operation. Install additional protection devices like GFCIs or surge protectors if required ( ).
Step 10: Schedule Maintenance
Regularly inspect the distribution box for loose connections, corrosion, or damage. Keep the panel clean and ensure all labels remain legible ( ). By following these steps, you can safely and efficiently install a panel on a distribution box while ensuring compliance with electrical standards and long-term reliability.
 Factory
 Method Statement for Installation & Testing of Electrical Distribution
This method statement will help the electrical engineers and supervisors for the installation of distribution board for an
 Factory
 How to Connect a Distribution Box
Learn how to connect a distribution box with this easy-to-follow, step-by-step guide. From tools and materials needed to common
 Factory
 Distribution Boards
Distribution boards, often referred to as electrical panels or breaker boxes, serve as the nerve center of any electrical system. Here
 Factory
 Wiring of the Distribution Board with RCD (Single Phase Home Supply)
Electrical Wiring Installation of the Distribution Board with RCD (Single Home Phase Supply From Utility Pole & Energy Meter to the
 Factory
 Installation process of distribution box
2. The wall mounted distribution box can be fixed on the wall with expansion bolts, but the dovetail bolts shall be embedded in the