How to install a fiber optic terminal box
Installing a fiber optic terminal box involves careful preparation, secure mounting, proper fiber splicing, and organized cable management to ensure network reliability and signal integrity.
Preparation
- Select the Installation Location: Choose a location that is easily accessible, protected from environmental hazards, and suitable for the type of FTB (indoor or outdoor) you are using .
- Capacity Planning: Determine the number of fibers to be terminated to select a box with sufficient ports and future expansion capacity .
- Gather Tools and Accessories: Required items include the FTB, fiber optic cables, adapters, cable cutters, strippers, labeling tape, cleaning agents, gloves, screws, drill, and cable ties .
- Inspect the Box: Check for defects or damage before installation .
Mounting the FTB
- Wall or Rack Mounting: Secure the FTB on a wall or a 19-inch standard rack using expansion screws or other appropriate fasteners . Ensure the front panel is accessible and the box is stable.
- Cable Entry Preparation: Prepare the fiber cable ends according to supplier instructions. Protect bare fibers during this stage to prevent damage .
- Pierce Cable Entry Diaphragm: If the box has a rubber diaphragm at the entry hole, pierce it before inserting the cable .
Fiber Routing and Splicing
- Guide Posts and Splice Trays: Route the fiber through plastic guide posts inside the box to manage excess length and maintain bend radius .
- Clamping: Secure the fiber at the splice tray entry using plastic clamping straps .
- Splicing: Fusion splice the incoming fiber to the pigtails inside the splice tray. Ensure proper alignment to maintain signal integrity .
- Slack Management: Store any extra fiber neatly in the box to avoid stress or bending beyond the recommended radius .
Connection and Labeling
- Adapters and Connectors: Install fiber adapters (SC, LC, FC, ST) as required and connect the pigtails to the adapters .
- Labeling: Clearly label each fiber connection for future maintenance and troubleshooting .
Testing and Maintenance
- Test Connections: Verify signal integrity using an optical power meter or OTDR to ensure proper splicing and minimal loss .
- Regular Inspection: Periodically check the FTB for dust, moisture, or fiber stress, and clean connectors as needed .
Best Practices
- Avoid tight bends and excessive stacking of splices to prevent signal loss .
- Use weatherproof enclosures for outdoor installations to protect against moisture, dust, and UV exposure .
- Ensure fibers are routed naturally without stress to maintain long-term reliability . By following these steps, a fiber optic terminal box can be installed efficiently, providing secure, organized, and maintainable fiber connections for FTTH, FTTB, or data center networks .
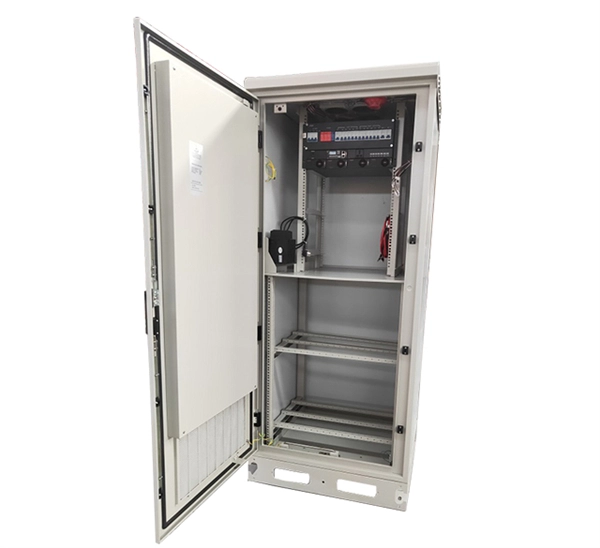 Factory
 Aug 23, 2025
FTTH Wall Box Installation Guide: How to Set Up an Indoor Fiber
This guide breaks down the key steps, prep work and best practices for installing an indoor fiber optic termination box,
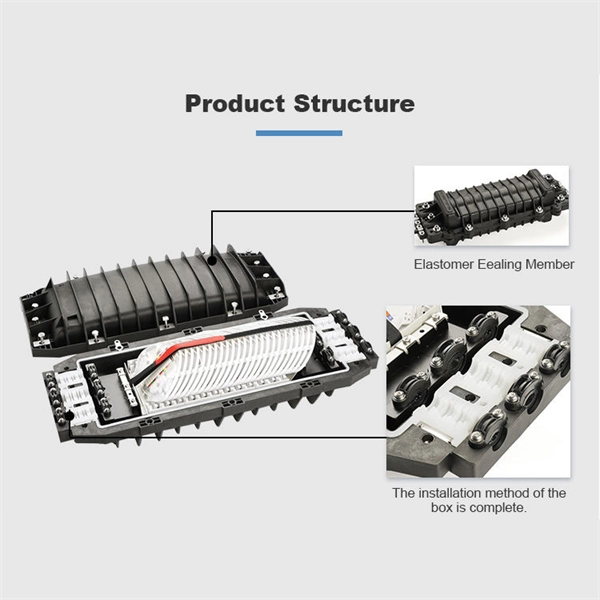 Factory
 Jun 15, 2026
How to Install a Fiber Optic Termination Box (FTTH Steps)
Learn how to install a fiber optic termination box step-by-step for FTTH projects. Covers mounting, splicing, routing, labeling, and
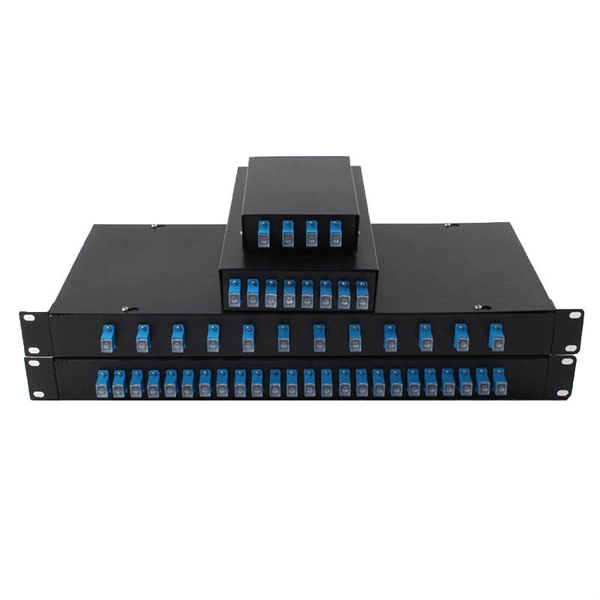 Factory
 Oct 12, 2025
How to Install an Optic Fiber Terminal Box
Struggling to install an optic fiber terminal box? Don''t worry! This video will guide you through the process step by step.
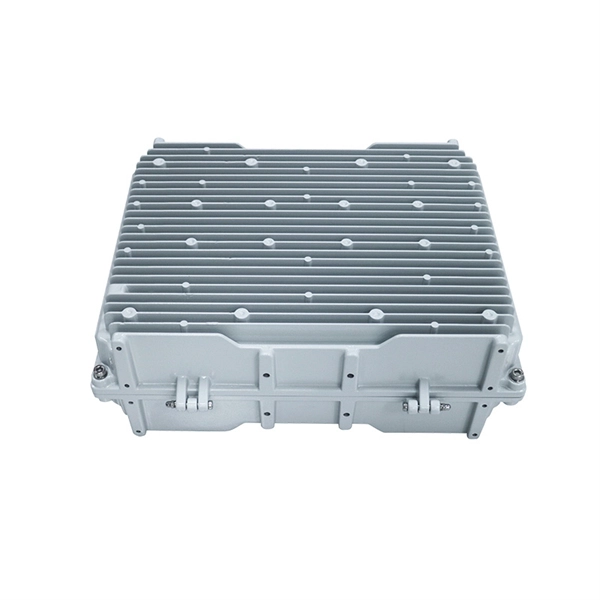 Factory
 May 11, 2026
101 Guidelines for Fiber Optic Cable Installation
Avoid placing fiber optic cables in raceways and conduits with copper cables to avoid excessive loading or twisting. Attach cables